|
Note - I have been fortunate to have this webpage
reviewed by Major Robin Gronovius, an Armor officer with the US Army. Major Gronovius' comments have been included within
my text. As you read this webpage I will present history or information about the Abrams and describe its equipment
and its uses. Bear in mind that in all cases of
factual contradictions with published reference/modeling books, Major Gronovius is an actual operator of the Abrams Main Battle
Tank, and as such I have deferred to his expertise.
If you are a model builder, sooner or later you will get the urge
to accurize and detail any shortcomings to the plastic kit you are currently working on. Or perhaps you wish to personalize
your model so it is unique and different from other kits out there. The Tokyo Marui M1A2 Abrams in my mind is no different.
Essentially it is a robust large scale model with radio control features added. Tokyo
Marui has done their homework in researching the M1A2 Abrams and spent considerable effort on including accurate details on
the model surface. Because of limitations in the plastic injection molding process, some details have to be simplified. Details
are also simplified to make them a little more robust to be suitable for radio control purposes.
The Tokyo Marui Abrams
is an early M1A2 variant produced in the late 1990s. It is slightly different compared to the newer M1A2 SEP, which has a
bustle mounted Thermal Management System (TMS), a GPS antenna by the Commander's Independent Thermal Viewer (CITV), and
internal Auxiliary Power Unit (APU).
Initially, I chose to simply
modify my Abrams by painting it in the more attractive European scheme used by some NATO countries. After a while, I decided
to make the tank competition worthy, adding and refining the details for accuracy and fidelity. All this has to be done without compromising its radio control ability. About 2 weeks after purchase,
I decided it was time to repaint my Abrams!
Paints-
M1 series of tanks were designed for conflict in Europe against Soviet forces during the Cold War,
and appropriately enough most Abrams tanks have been painted in a three color camouflage developed with the West German Army
for use in wooded and grassy areas. The actual paint is factory applied; alkyd based, and is resistant to chemical agents.
Early M1A2 Abrams were painted in the European camouflage, although the majority, have been repainted in desert colors in
anticipation of conflict in the Middle East.
In order to repaint my
Tokyo Marui Abrams, the surface must be prepped. The factory applied NTC color camouflage is thick; there is a visible ridge
on the edges of the black and brown colors over the tan base coat. The edges of the paint were sanded down with 600 grit sandpaper
(emery paper) until the edges were smooth to touch. I left the underlying tan basecoat alone to act a primer coat; a separate
application could cover up the surface details. In addition mold lines on the edge of the hull, and bustle rack were smoothed
out as well. Filler putty was applied to the seam on the main gun tube. The tank was then polished with 800 and 1000 grit
sandpaper to remove scratches and provide a key for the subsequent applications of paint. The entire model was then wiped
down with dilute isopropyl alcohol to remove oils, fingerprints, and dust, and then wiped down with a dry tack cloth.
|
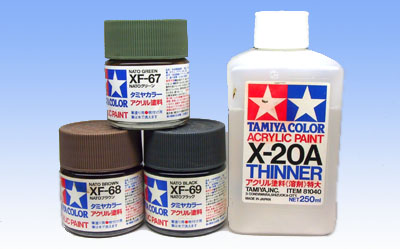
| Tamiya's excellent line of modern NATO acrylic colors |
The brown, green,
and black NATO camouflage colors are available as hobby paints. I used Tamiya's line of acrylics: NATO Green XF-67, NATO
Brown XF-68, NATO Black XF-69.
The
camouflage pattern can be found at the following link:
US ARMY Camoflague Scheme Manual
All paints were applied
by airbrush diluted with Tamiya thinner. The dilution ratio is ½ paint, and ½ Tamiya Thinner applied at 10-20 psi. You can
use isopropyl alcohol to thin Tamiya acrylics, but adhesion will be affected, and sometimes dry to a granular surface.
NATO Green was applied
overall the entire model first as a basecoat. The model was then inspected for dust particles trapped on the surface; if any
were found they were removed with fine tweezers before the paint fully dried. NATO Brown was then applied freehand by airbrush;
alternately the plans can be enlarged, then cutout masks made and taped to the model for a hard edge to the camouflage. (You
can darken the NATO Brown with a drop or two of black paint if it looks too bright.)
The model was inspected
again for dust, and accuracy of paint application. Finally NATO Black was applied, and the model was set aside to dry overnight.
I saved the diluted paints in bottles; they will come in handy when I touch up the overall finish.
Testors' DullCote was applied
in several thin misting coats from a spray can over the surface of the model. It is important to allow the acrylics underneath
to dry fully; otherwise the paint can soften and bubble off the surface. DullCote is lacquer based, and a heavy application
can eat through most acrylics. The model was again inspected for dust and left overnight to dry. The process was repeated
4 more times, over a few days to ensure the camouflage colors were well protected under a layer of Dullcote.
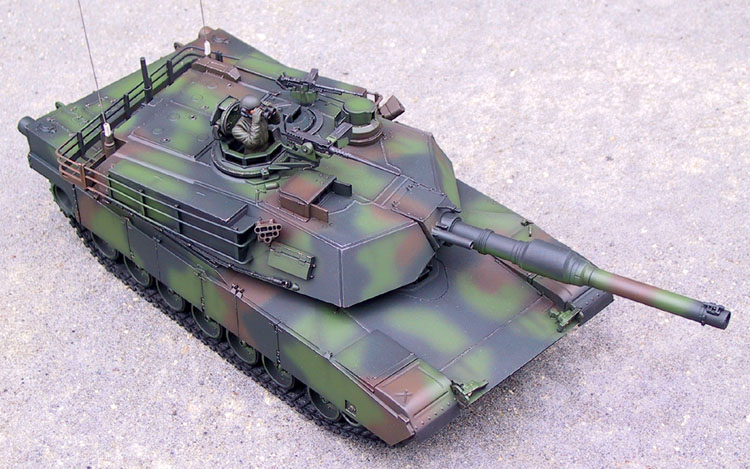
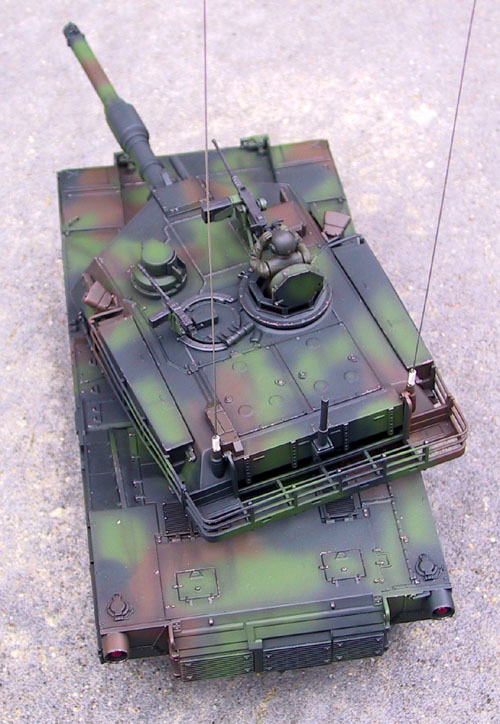
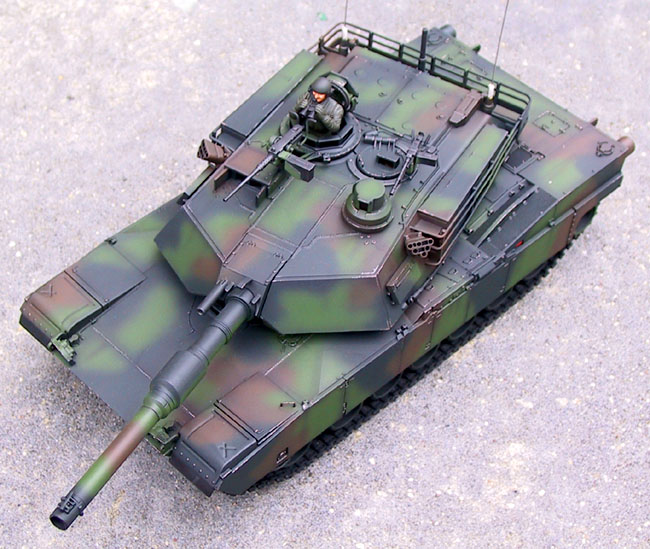
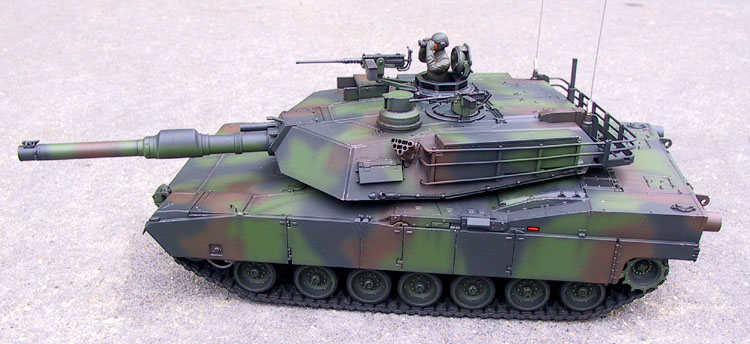
Scroll down below to view images of the repainted Abrams:
|